Don't Waste Time Looking For Wig Install Near Me, Wig Install Is Easy
Aug 07,2023 | Bella
Finding a wig installation near me has always been what everyone is looking for. Proper wig installation is essential for guaranteeing a positive wig-wearing experience, but for many wig wearers, especially beginners, wig installation has traditionally been a difficult task. However, you can read the following wig installation tutorial first, maybe you will change your mind about finding a wig installation shop. In fact, you can do it yourself, the wig installation is very simple and saves your time as well as your money! So, don’t just waste time looking for a wig installation near me, actually wig installation is quite easy!
![wig installation wig installation]()
1. Select a wig style.
Full lace, partial or front lace, and non-lace wigs are the three main types of wigs. Human hair, animal hair, and synthetic hair are the three basic materials that they can be composed of. Each wig type has advantages and disadvantages, so choose the one that is right for you. Next, to see how to install a lace front wig.
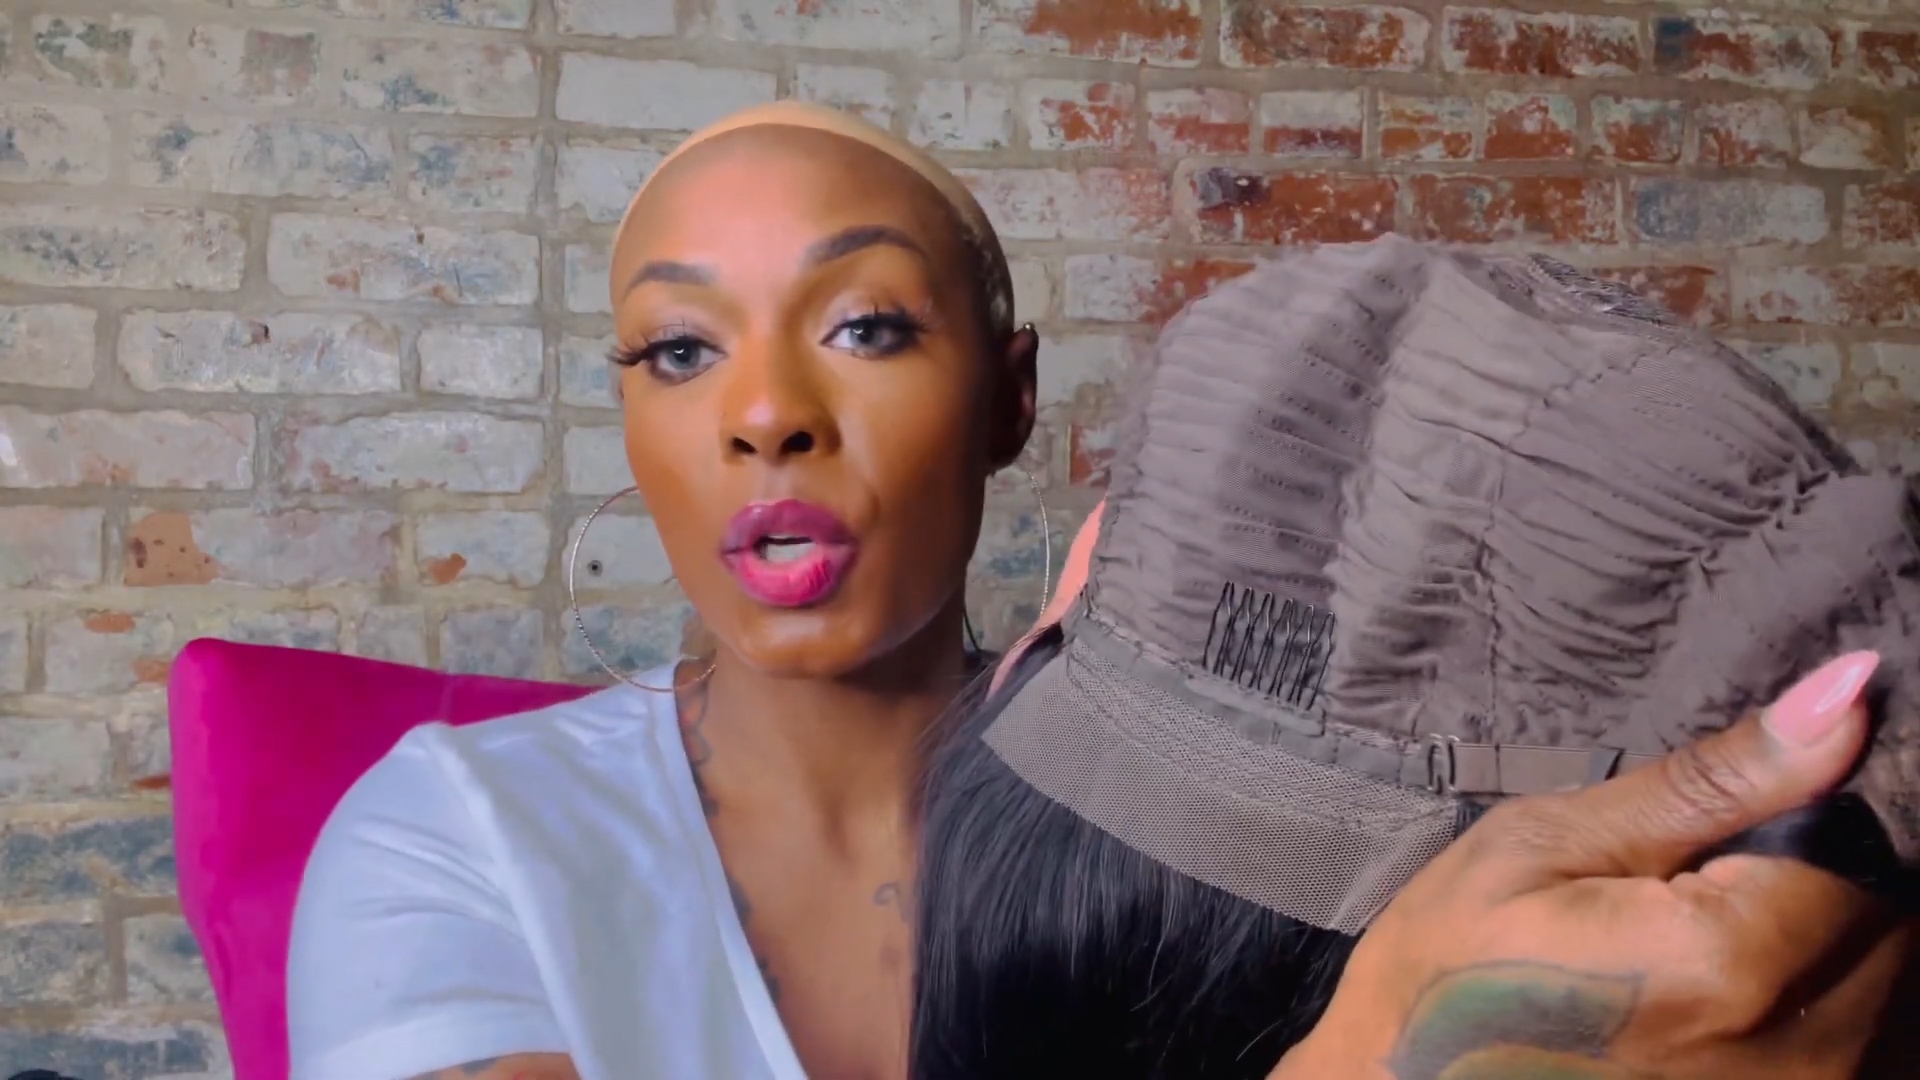
●The complete lace wig has a lace mesh cap with hair sewn into it all the way around. It creates a natural-looking hairline, is more commonly formed of human or animal hair, and is easier to manage because it may be parted wherever. It also offers greater comfort while worn because it breathes better. The disadvantage is that these wigs are frequently more expensive than other wig kinds. Because they are not made of a more durable fabric, they are more likely to be destroyed.
●The deep wave lace wig, also known as a partial lace wig, is created with lace mesh only at the front, rather than all the way around. It provides you with a natural-looking hairline on your forehead, but the main section of your head is composed of more lasting materials. These wigs are less expensive than full lace wigs and can be manufactured of any material, including human, horse, Brazilian, or synthetic hair. The disadvantage is that these wigs do not look as natural as full lace and might be more difficult to style because of the way they are constructed
●Non-lace wigs are constructed of nylon mesh or other similar materials. These wigs are more durable and less expensive than other wigs since they can be created with any sort of hair material. The disadvantage is that these wigs do not look as natural as other wigs and do not blend in as well as lace wigs.
2. Make sure your hair is in order.

Once you've put your wig on, you'll need to adjust your hair so that it doesn't cause any bumps or uneven spots. Regardless of whether you have long or short hair, make sure that all of your natural hair is pulled back from your hairline so that it does not show through the wig. This is a crucial step before wig installation.
●If your hair is long, divide it into two sections and twist them together, connecting the two pieces behind your head. With bobby pins, secure them over the top and bottom.
●You can pin little 1-inch (2.5 cm) twist curls all around your hair if you have long and thick hair. Take a 1-inch (2.5 cm) section of hair and twist it around your forefinger, twisting the end around your forefinger. Make a 1-inch (2.5 cm) wide circle with your hair by curling the strand down toward your head. Once all the hair is curled, make an X with two bobby pins over the curl. Do this to your full head of hair. This will provide you with a flat surface to apply your wig.
●Shorter hair can be pinned away from the hairline with a comb. Make your hair as flat as possible against your head. To push your hair away from your hairline, use a flexible cotton headband or similar objects.
3. Make sure your skin is in good shape.

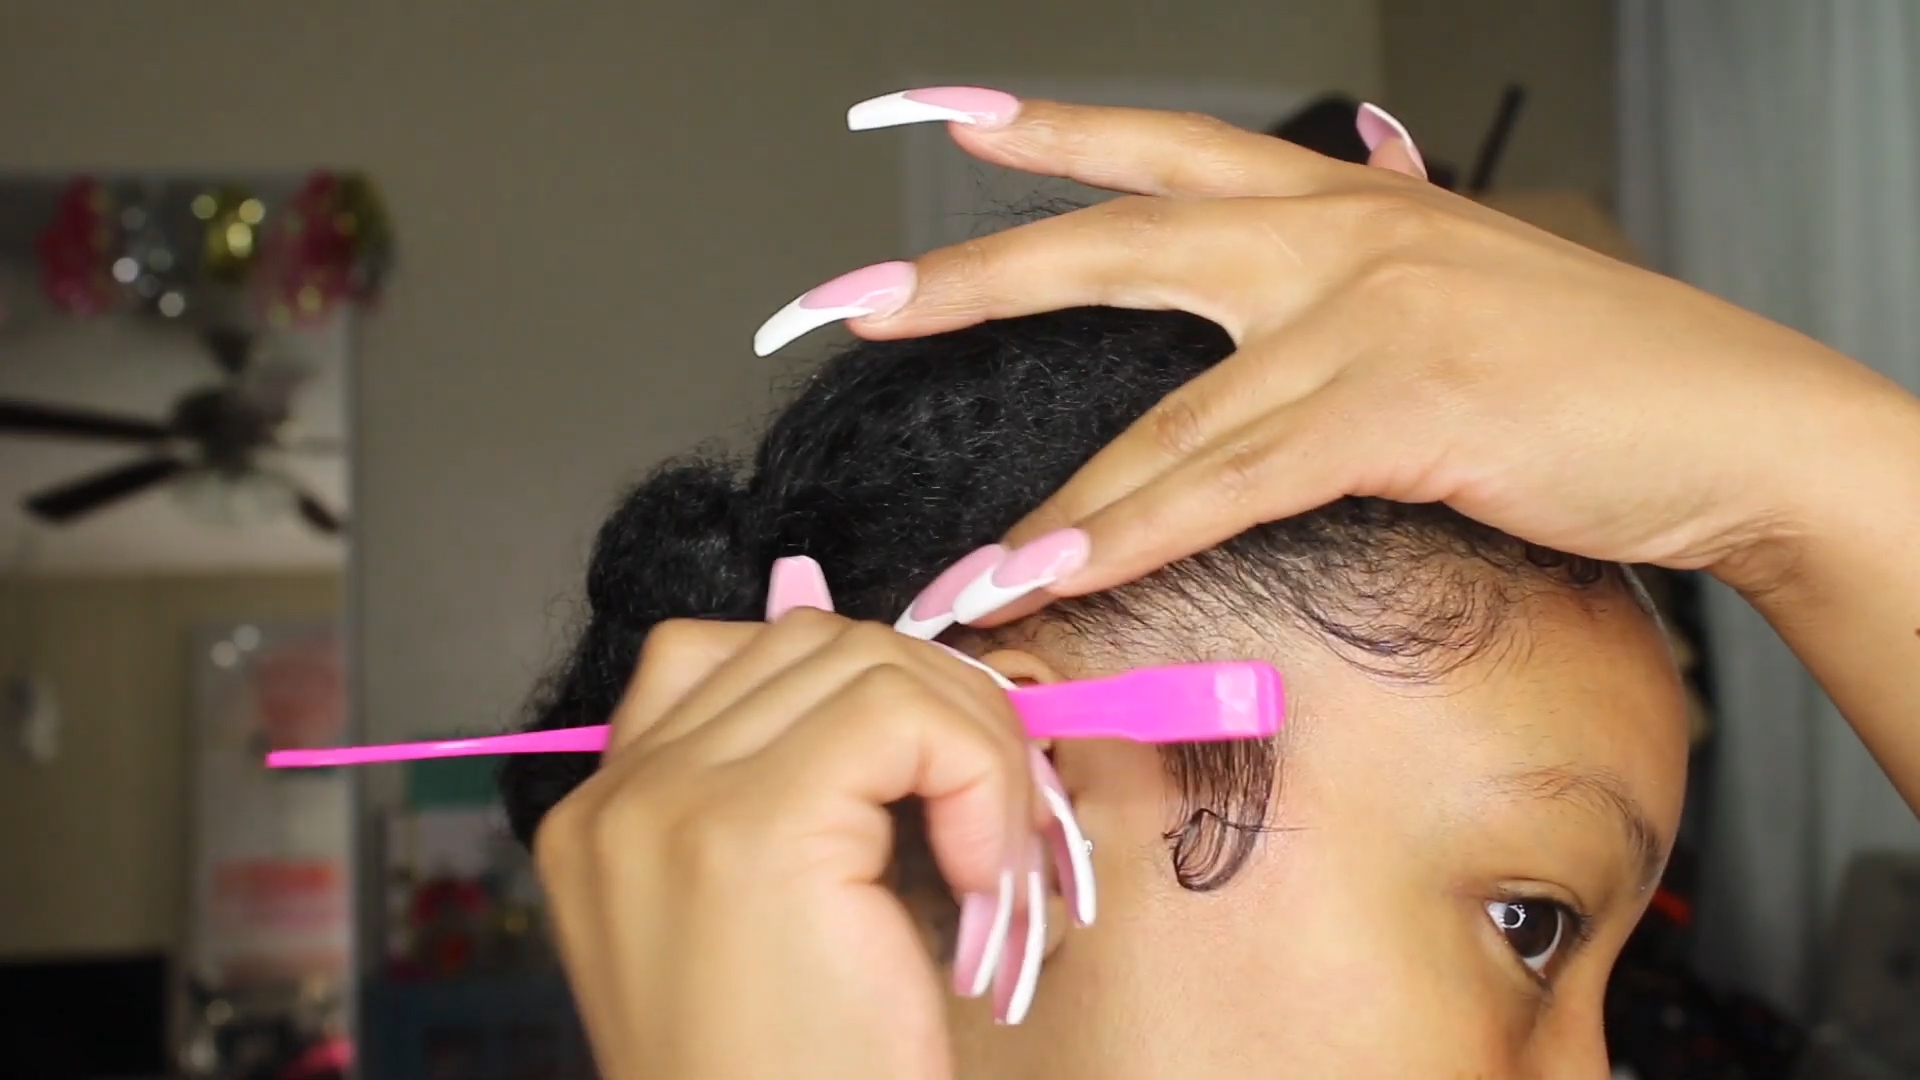
Using a cotton pad dipped in an alcohol solution, wipe the skin around your hairline. This will assist the glue or adhesive tape stick to your skin better by removing any excess oils and impurities. Apply a scalp protector to the areas around your scalp, which might be a spray, gel, or cream. This will shield the sensitive skin from the glue or adhesive tape, causing irritation and injury.
4. Wear a wig cap.

A net wig cap or a skin-toned nylon wig cap can be used. The skin-toned cap replicates the color of your scalp under your wig, while the net cap allows for a little more airflow. To put on the cap, gently stretch it over your head and align it with your hairline, making sure all of your hair is underneath it. Using a few bobby pins around the outer borders, secure it in place. Find the right way to wear a wig cap.
5. Apply the glue or tape to the surface.

Dip a small cosmetics brush into the wig glue and apply a thin coating over your hairline with it. Allow time for it to dry. This could take a few moments. When the glue is no longer thin and wet, but rather sticky and tacky, you know it's done. Place double-sided pieces of adhesive tape around your hairline, attaching them to your skin. Allow a tiny gap between each tape strip. This ensures that when you sweat, moisture may escape without compromising a whole length of tape.
6. Make sure the wig is ready.

Make sure the wig hairs won't get trapped in the glue or adhesive tape before you start applying the wig. Make sure the wig hair is all pulled back into a ponytail. Clip the hair closest to the edge back if the wig hair is short.
●Cut the lace to match your hairline if you're using a full or half lace wig. Make sure you don't take too much off or the wig's natural hairline may be disrupted. Leave a small amount on the edge to allow it to be attached to your head naturally.
7. Assemble the wig and place it on your head.

Place your finger on the part of the wig that will be in the center of your brow. Place it over your head and gently place it on your scalp, centered on your forehead, with your finger. Pull the rest of the wig over your head gently after that. Keep the sides as far away from the glue as possible to avoid it sticking before you're ready. Here is the approach to placing a wig on your head.
●Avoid bending over and putting your wig on backward. This may make your wig look off-kilter and may cause pieces of the hair to attach to the adhesive material before you're ready.
●Allow plenty of time to adjust your wig before leaving the house if you're wearing it for the first time. It can take some practice to get it right. Once you adjust your wig, you will no longer need to find a wig install near me, but can fully achieve the natural appearance by yourself, just make sure this step is complete.
8. Make sure the wig is secure.
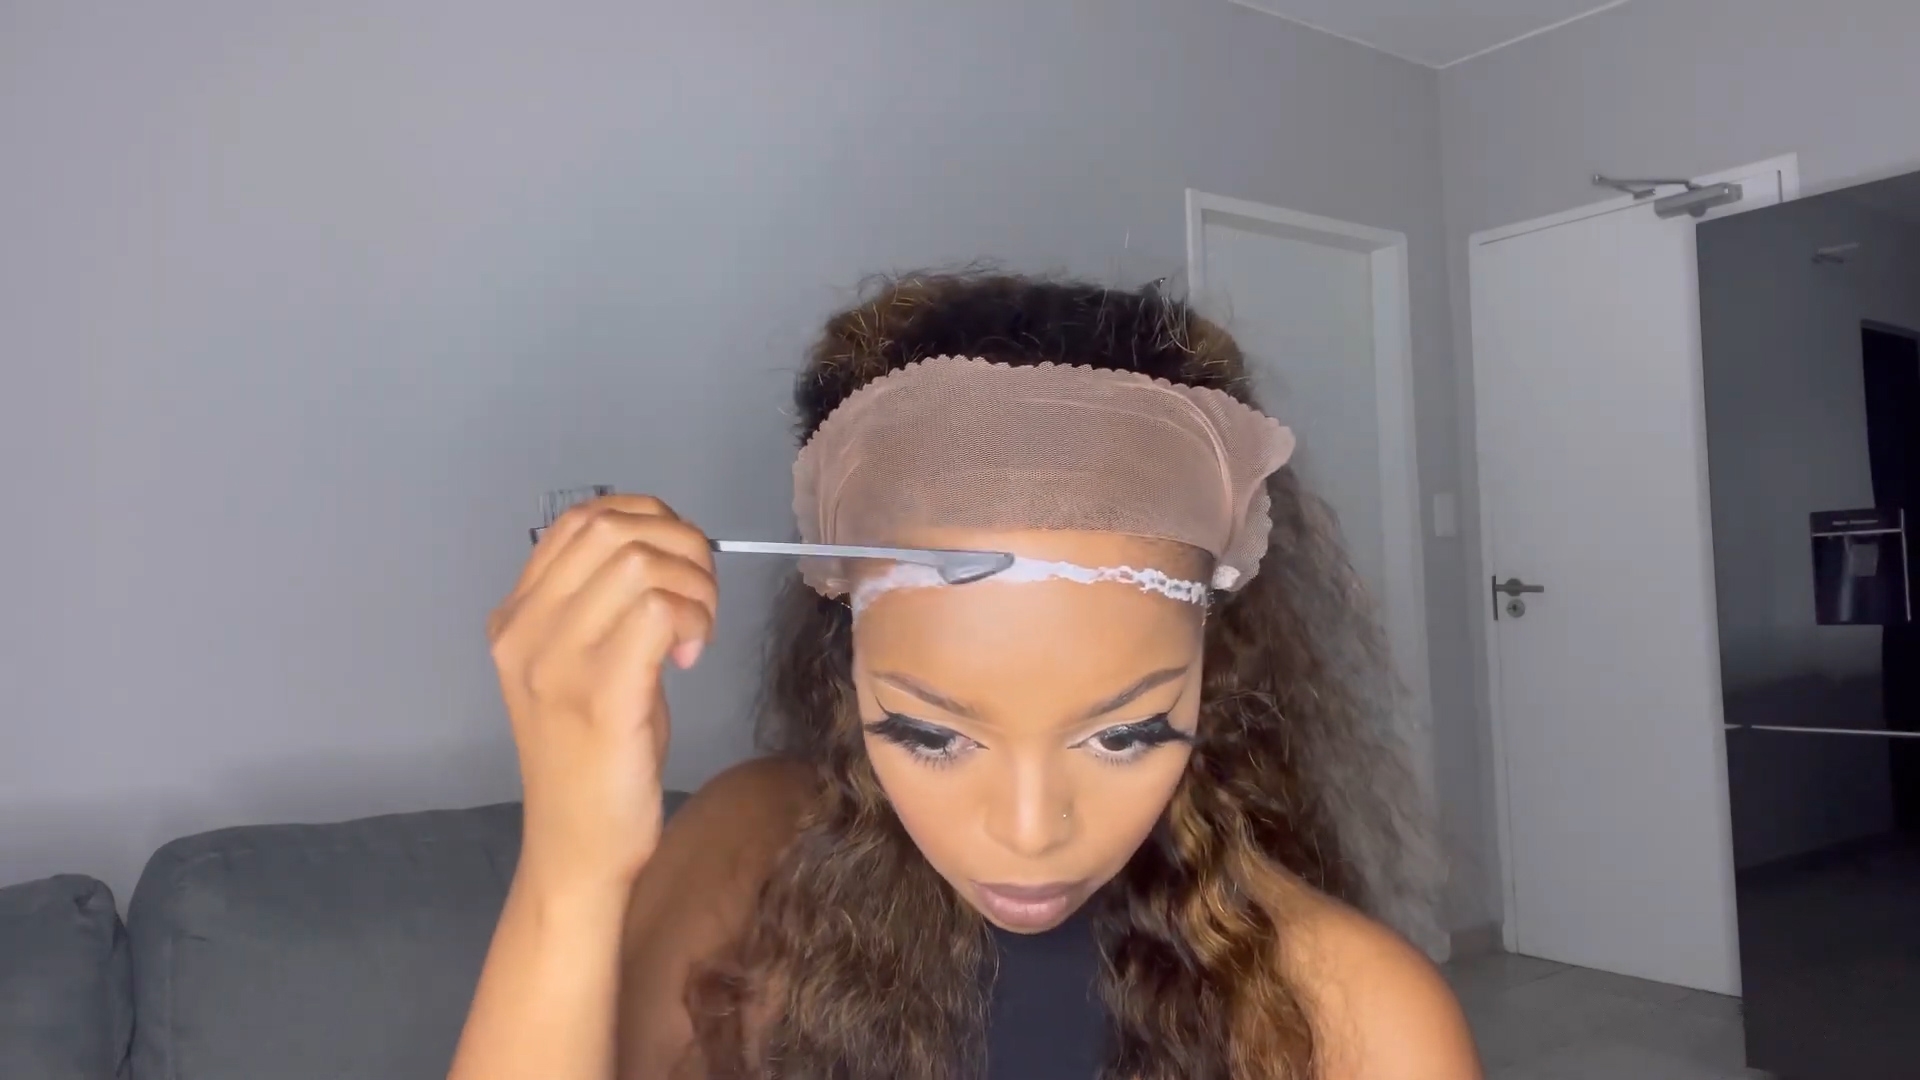
You must fix the wig to your head, regardless of the type of adhesive you used. Use a fine-toothed comb to gently press down the front edges of the wig once you've got it where you want it. If you're wearing a lace wig, ensure sure the lace portions against your head are smooth, creating a natural hairline. Allow 15 minutes for your wig to set after the front half is secured. Then, on the back portion, repeat the steps from the front. To make sure the wig is stable, wait another 15 minutes before styling it.
●Bobby pins can also be used to keep your wig in place. Using bobby pins, secure the top of your wig to your wig cap and the hair underneath. To make sure they aren't visible, do it closer to the middle.
●Check to see whether any glue residue is apparent under the wig once it's in place. If there is, gently touch the affected regions with a cotton pad dipped in an alcohol solution to remove them.
●If you can't get your wig to stay in place on the first try, use a Q-tip dipped in an alcohol solution to gently separate it from your skin. Reapply your wig and reposition it.
9. Accessorize and style.

You can style your hair as you want once the wig is entirely secure. You are free to have as much fun and adventure as you wish. Braid, curl, and adorn your wig to your heart's content. If you have a synthetic wig, don't heat it because the strands may melt or become damaged.
●Before you put on your wig, you can have it cut into a style that fits your face. This will make the wig feel more natural on your head and appear more like you.
●It's important to remember that less is always better. Don't use too much product on your wig, whether it's made of human hair, animal hair, or synthetic materials, because it will leave a residue.
10. Just try to install the wig by yourself.
We can see from the above contents, that as long as you follow the correct steps, wig installation actually is quite an easy thing. You don’t need to find a wig install near me, just install the wig by yourself!
.png?w=534&h=141)
